Showing posts with label Dessert. Show all posts

Monday, May 29, 2023

Kiwi fruit: green, gold and ruby red


Well, it may seem silly but I never seen kiwi fruit disappearing so fast as when they were served this way! And I swear that they taste better sliced like this that eaten with a spoon...

Photos and Recipes by Alessandra Zecchini ©


Monday, January 10, 2022

A round vegan custard slice, step by step


Thanks to my friend Ray I have recently discovered these sweet Spanish Ines Rosales' tortas (there is also a savoury version). And noticing that they are vegan I thought of making a quick dessert, a bit like a custard slice, which I love, with them!


For the custard I used oat milk (barista style).

Ingredients:
1 tbsp flour
2 tbsp sugar
250 ml oat milk
a few drops of vanilla essence
2 sweet Ines Rosales pastries
Amarena cherries (optional)
Icing sugar to sprinkle
Fresh Fruit to serve (optional)


Mix the first three ingredients together and bring to a simmer, stirring constantly. Add the vanilla at the end. You should cook this custard until it is quite thick, and then keep stirring after cooking until it is lukewarm and no more steam comes out. Make sure that is thick, not runny!


Pile the custard on one of the pastry


I had some amarena cherries so I though of adding 4 to the custard, but any fresh or preserved fruit would work too. Just don't add too much 'juice'.


Place the second pastry on top and press lightly, smoothing the custard on the sides with a small spoon, if necessary. Sprinkle with icing sugar and refrigerate for a few hours.


This actually served three people, and we had fresh cherries on the side. I'll definitely make it again, probably with berries or with fruit preserved in alcohol! Yum! A real treat!


 Photos and Recipes by Alessandra Zecchini ©


And now some flowers for my Pinterest board!


 Photos and Recipes by Alessandra Zecchini ©


Friday, July 23, 2021

Soft baked cheesecake, "Japanese style"


One thing that I loved about living in Japan were the cakes, both Japanese and Western style. In fact the Western style cakes not only are of an incredible high quality, but they also seem lighter and less sweet that what we have here in New Zealand. The baked cheesecake has always been one of my favourites, I do find it a little 'eggy' perhaps, but every now and then it is fun to make!

Ingredients

1 x 250g pack of cream cheese (I used Philadelphia) 

50g butter (I used salted butter, follow instructions if you use unsalted butter)

150ml cream

50 sugar

5 eggs (large)

80g self rising flour

lemon zest and juice

Apricot jam for the topping (optional)

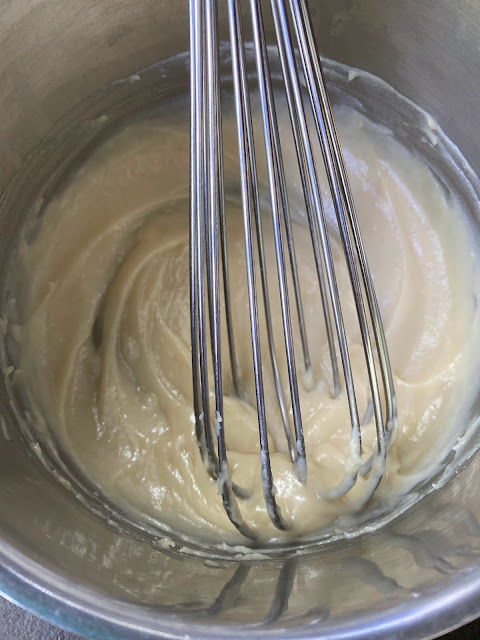
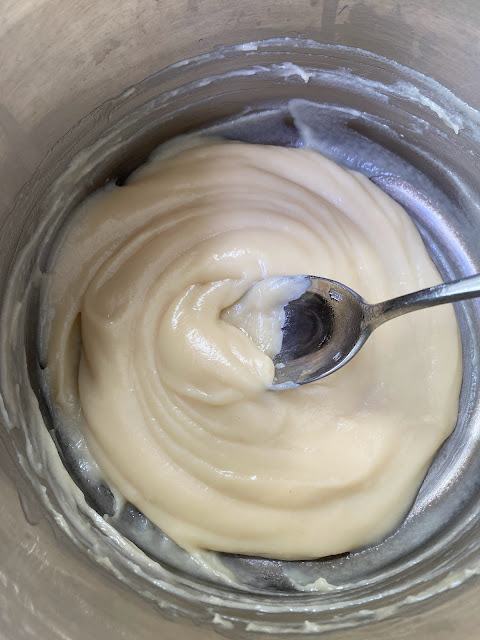
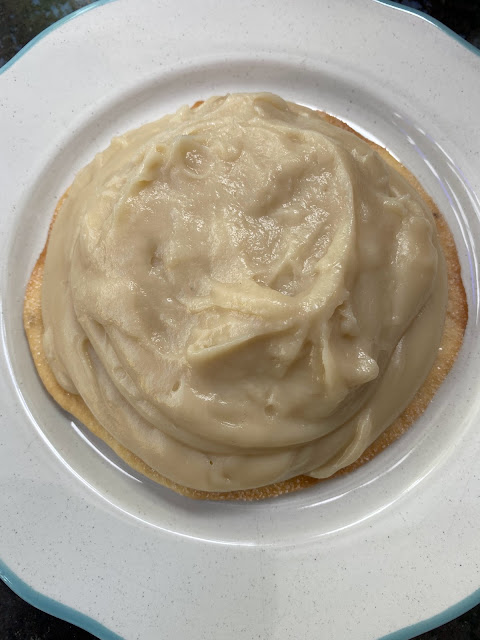
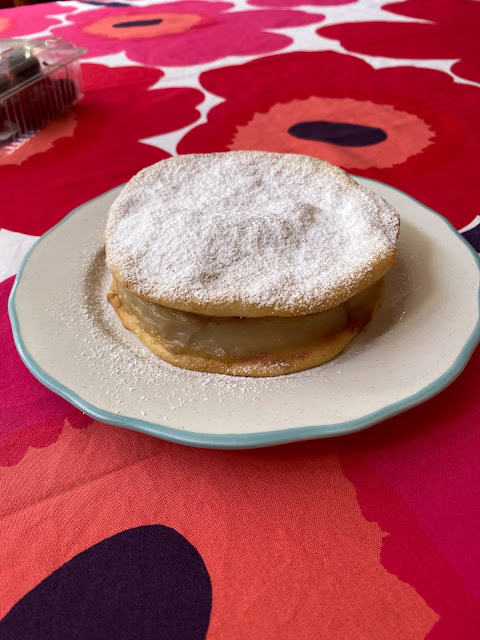
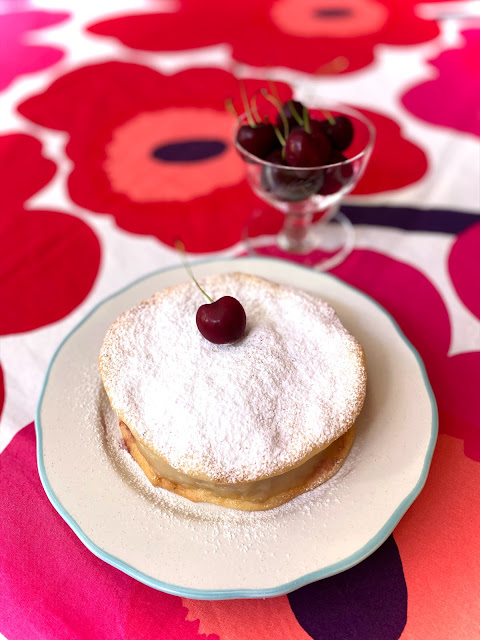
Cube the cream cheese and butter and place into a mixing bowl with the cream and sugar. If you use unsalted butter add a very small pinch of salt too. Place the bowl on a pot with boiling water (Bain Marie)  and mix well until all the ingredients are melted. Make sure that there are no lumps of cream cheese! Remove from the heat and then add the egg yolks, one by one, mixing well.  In the meantime whip the egg whites to a stiff peak, and also heat the oven to 180C. Add flour to the main mixture, then lemon zest (1 lemon) and lemon juice (one or two tbsp, depending on your lemon - Mayer lemons are sweet so you need more, if you use a more acidic lemon one tbsp will suffice). Fold in the egg whites little by little. Pour into a 18cm round baking tin lined with buttered baking paper (on the bottom and side of the tin - I butter both the tin and the baking paper). Place the tin on a larger baking pan filled with 30-40cm of hot water and place into the oven. The cake will also bake at Bain Marie. Turn the heat down to 160C and bake for about one hour. Turn the oven off but do not remove the cheesecake: leave it to cool down in the oven with the oven door slightly open. Sadly it will drop a bit in heigh while cooling, but this is normal. I am not sure what kind of stabilisers commercial bakeries use to keep their baked cheesecakes super high, but this is more about taste, and the homemade does taste better! When the cheesecake has cooled down remove from the baking tin and if you like brush the top with a little apricot jam thinned with hot water. 

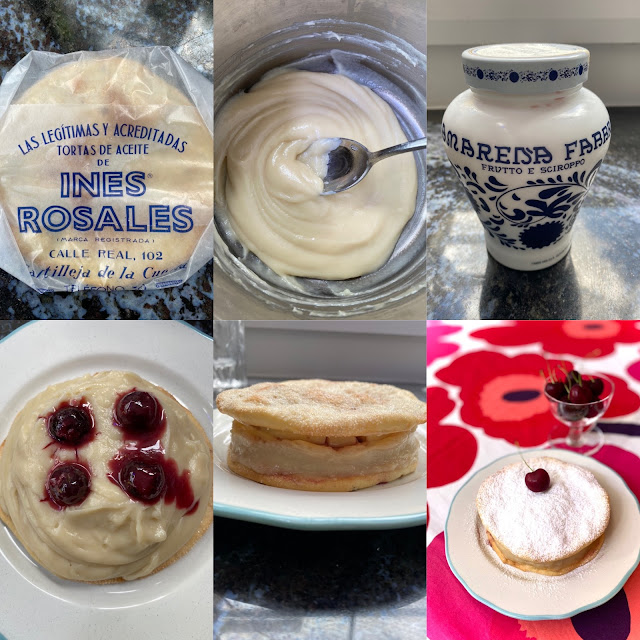
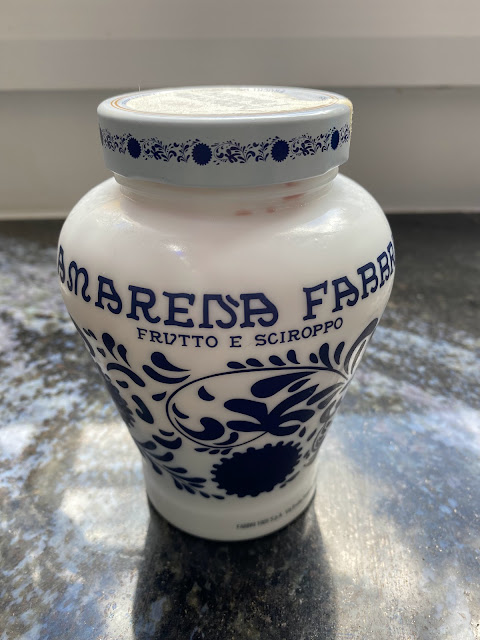
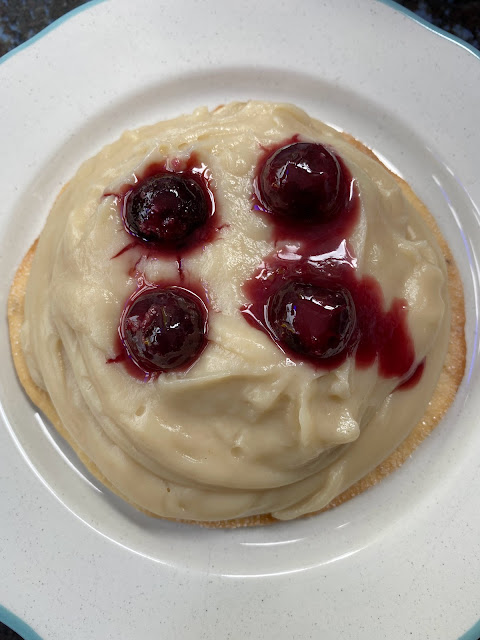
I particularly like this cheesecake because it is so soft and not so sweet, so I can have it for breakfast with my coffee. For dessert instead I like to add some Italian amarena cherries in syrup, or some berries, fresh or frozen, marinated with a little sugar and lemon juice, to give it a bit more sweetness and flavour.


And now some flowers for my Pinterest 


Photos and Recipes by Alessandra Zecchini ©


Thursday, February 18, 2021

Apple cupcakes with dried flowers


I have a selection of dried petals: blue cornflowers, red petals (a mixture of rose, verbena, dianthus) and orange and yellow (marigold and calendula), ready to add to a cake or cupcakes or muffins.

Ingredients for 12 cupcakes/muffins

4-5 Oratia Beauty apples
40 ml water
10 ml lemon juice
120 g salted butter
3 eggs
130 g sugar
A few drops of pure vanilla essence (optional)
200 g self-rising flour
Dried flowers
For the icing:
100 gr butter
100 g sugar
more dried flowers


Preheat the oven to 175°C. 

Line a 12-muffin tray with cupcakes paper cups.

In the meantime place the water and lemon juice in a mixing bowl, peel and slice the apples and drop them directly into the lemony water.

Melt the butter in a jug, either in the microwave or in the oven (while the oven is warming up for the cupcakes). Place the eggs and sugar in a mixing bowl and whisk, using an electric beater, until the mixture looks light and pale yellow in colour. Slowly add the melted butter and the vanilla essence, if using.

Keep beating at a low speed now; add half of the flour followed by half of the lemony water from the apples. Add the rest of the flour and water and keep beating making sure that there are no lumps. Add the apples and the dried petals. Divide into the cupcakes paper cups.

 
Bake for about 18-20 minutes, until golden brown at the top. You can also check by inserting a toothpick into the cupcakes: if it comes out clean the cupcakes are ready. Remove the cupcakes from the tin and let them cool down. The icing is optional, I just mixed some melted butter with sugar and used it to top the cupcakes, then sprinkled more dried petals on top. 


Photos and Recipes by Alessandra Zecchini ©

LinkWithin

Related Posts with Thumbnails