Monday, December 31, 2012

Sunset in Hokitika, and Happy New Year!


Sunset on Hokitika beach

5 minutes later...


We visited Hokitika on the West Coast, and what a sunset they have!! Everything was pink, then purple, then red-orange, then black! There was even a fire on the beach, to make it all the more charming. After dark we went to see the glow worms in a dell nearby, but I didn't want to take photos for fear of disturbing the little creatures!

Did you make yours New Years resolutions? I hope that they all come true! Mine is to travel more in 2013, after all this is a food and travel blog!

Happy New Year!


Photos by Alessandra Zecchini ©

Sunday, December 30, 2012

Crossing the High Country, Castle Hill and beautiful Kea


Even with stormy clouds the High Country of the South Island is stunning (and empty!).
The gigantic rocks are at Kura Tawhiti (Castle Hill).

Before crossing Arthur's Pass we stopped for a view, and curious kea parrots run forward to meet us.
Pity that it is forbidden to feed them, they are so funny and friendly! They will also smash your car and
 steal from your bag if you are not careful! But they are very clever and handsome!

Photos by Alessandra Zecchini ©

Friday, December 28, 2012

Wednesday, December 26, 2012

Monday, December 24, 2012

Merry Christmas and the last trees


The little tree in the entrance, decorated with teddies and soft figurines

Merry Christmas to all, 

I hope that your day is filled with fun! 


The kids' tree, always bright and colorful


Three kids (cousins) making the Xmas tree in Wanaka

Photos by Alessandra Zecchini ©

Sunday, December 23, 2012

Nan's garden in Christchurch

More garden photos, this time from my Parents in law's garden in Christchurch. So much colour, and always an inspiration! 


Photos by Alessandra Zecchini ©

Saturday, December 22, 2012

Not in my garden but I wish


Just some photos today, I really think that I would like a corner of my garden with poppies, this is a church garden in Grey Lynn (Auckland), so pretty! Some people around NZ say that Jafas (Aucklanders) are not gardeners, I disagree, there are a lot of great gardens here! What do you think?


Photos by Alessandra Zecchini ©

Thursday, December 20, 2012

The cauliflower is small but the cabbage is big...


A few more goodies from my garden, young lettuces, to be picked before the snails get there, or the weeds overgrow them! Yes, too many weeds in the veggie garden this year, I am sure that they are taking away precious nutrients from other plants, the cauliflowers had the record ... flop! The smallest I have had, or seen. The cabbages, on the other hand, were all big, I wish I could have swapped that, I don't like cabbages as much as I like cauliflowers, and I find them quite tiring, especially because they are so big that one feed us for 3 days in a row. But they are a thing of beauty to look at in the garden. 

And how is your garden going?


I am on holiday from today so I may not be posting regularly, but I am always around, and hope to have the time to visit your blogs more!!

Photos and Recipes by Alessandra Zecchini ©


Wednesday, December 19, 2012

Walnut and Nutella (optional) cupcakes, plus little cupcakes baked in walnut shells


Did you ever play with walnut shells as a child? I spent many hours making little boats, and recently I have been dreaming about baking inside them... not very practical, I admit it, and difficult to eat, but absolutely adorable to look at!!


Walnut and Nutella cupcakes


Ingredients

120 g butter
3 eggs
130 g sugar
1/2 tsp lemon zest
200 g self-rising flour
60 ml milk
15 walnuts
A little nutella (optional)

Topping (optional):
mini cupcakes baked inside walnut shells, and topped with royal icing


Makes 12 cupcakes

Preheat the oven to 175°C. Line a 12-muffin tray with cupcakes paper cups.
Melt the butter in a jug, either in the microwave or in the oven (while the oven is warming up for the cupcakes). Place the eggs and sugar in a mixing bowl and whisk, using an electric beater, until the mixture looks light and pale yellow in colour. Slowly add the melted butter and the lemon zest. Keep beating at a low speed now; add half of the flour followed by half of the milk. Add the rest of the flour and milk and keep beating making sure that there are no lumps. In the meantime crack the walnuts and break the kernels. Keep some halved walnut shells aside, if you can. Fold the kernels into  the mixture. Grease the inside of the walnut shells with butter and add a little cupcake mixture, place the shells onto a mini cupcake tray to keep them upright, then bake for about 10 minutes or until the top looks golden. Divide the rest of the mixture between the 12-cupcake cases, if you like add a little nutella to each one and mix it in lightly with a toothpick to make a spiral motif. Bake for about 18-20 minutes, until golden brown at the top. You can also check by inserting a toothpick into the cupcakes: if it comes out clean the cupcakes are ready. Remove the cupcakes from the tin and let them cool down. Place the walnut shell cupcakes on top, decorated with some frosting (I just used some royal icing) and a cupcake flag (they are little boats, after all).


Photos and Recipes by Alessandra Zecchini ©

Tuesday, December 18, 2012

Pineapple and mint flavoured water


Just an idea now that summer is here. Instead of drinking juices or sweet stuff I like to put fruit in water, and then store it in the fridge. Refreshing and no calories!! Pineapple and mint is a good combo, although I leave the mint in only for a couple of hours (I think that my garden mint is particularly strong...). And it looks good too!

Photos and Recipes by Alessandra Zecchini ©

Monday, December 17, 2012

Hot chocolate spoons, and recycling Christmas Cards


 For the hot chocolate spoons I used little wooden spoons, the idea is simple, just dip the spoon in a cup of hot milk and stir! They are perfect for little present, inside a little bag with a Christmas card for backing. Now this idea may not suit everybody, but I like to recycle everything I can, even old Christmas cards, I cut out the front (as long as there isn't any writing on the back, and make labels, collages, or even little cards like in this example, to be hand delivered with a chocolate spoon inside.
 On the back of the cards we wrote our Xmas messages and the chocolate spoon flavors: chocolate and cinnamon, double chocolate and cocoa, white chocolate and cardamom, white and dark chocolate, and dark chocolate with sugar granules. Melt the chocolate, pour on the spoons and add your spices or topping! Easy as!

 Do you ever recycle your Christmas cards?


Photos and Recipes by Alessandra Zecchini ©

Saturday, December 15, 2012

White and sugar Christmas tree


Merry Christmas! This is my big tree, with white decorations, some collected, other handmade.


Some are porcelain, some wooden, some cotton or felt, and there are some real starfish too.


I made several with fondant, instructions here


Others were made with paper doilies and meringue,
instructions here

And here is the tree at night!


Photos and Recipes by Alessandra Zecchini ©

Thursday, December 13, 2012

Kakiage, perfect when I don't know what to do (and I want to cook carrot leaves)


I have a lot of carrots in the garden, but because the soil is 'pottery quality' clay, they rarely grow long, and I have to start using them now before they get too knotted! I picked a few, including the tender leaves (yes you can eat carrot leaves) and a couple of thin celery sticks, plus two leeks that never managed to grow beyond spring onion size. I washed, peeled and chopped the lot and then I made a batter with some tempura flour and water. Kakiage is a kind of tempura where more vegetables are mixed together, a bit like a fritter, but lighter, and if you use tempura flour also easier (no need to whisk eggs).
Add the chopped veggies to the batter (in a proper Japanese kakiage the vegetables should be cut into strips, here they were just roughly chopped) and spoon into hot oil to fry on both sides. Sprinkle with salt and serve. Very very simple and perfect for those kids who don't eat vegetables: they will probably eat any kind of veggie if it is hidden in a delicious kakiage fritter!!

Leftover kakiage can be added to a bowl of hot noodle soup, it tastes even better!


Photos and Recipes by Alessandra Zecchini ©

Wednesday, December 12, 2012

Meringue snow flakes and doilies for the Christmas tree


More ideas for more white Christmas tree decorations. Meringues are classic, in the past I used the meringue wreaths from my book Party Food for Girlsand this year I was very happy to see that Franci and Vale from La Signora dei Biscotti blog made them too, so if you would like this meringue recipe in Italian click here, and if you like the recipe in English you can find it in Party Food for Girls, available from Amazon, The Book Depository and many other online bookshops. If you live in New Zealand you can find it in good bookshops and, of course, in the library.  


Meringue wreaths, from left: page 54 and page 65 of Party Food for Girls

This year I decided to make snowflakes, it is a little harder as they can break more easily (also I didn't want to make them too big!) but they are beautiful!!! Same recipe as the wreaths and they will last for years (if you decide not to eat them, that is!).


Another idea is too use paper doilies, like the ones that you find under small cakes or cake slices in fancy cafes. I found two different sizes, the smallest that I could, and not only they look really nice and classy, but they are inexpensive and fill the tree nicely. To tie them up I used white embroidery cotton.


The tree is nearly ready, I will post a photo in the next few days!

Photos and Recipes by Alessandra Zecchini ©

Tuesday, December 11, 2012

Hand painted biscuits for Christmas, Scandinavian/Dolomites/South Tirol style


These days there are a lot of Christmas Parties and events around, and on Sunday I had a double booking. I went to the Dante Society Xmas party (also because my kids were preforming), and sadly I missed this Slow Food Waitakere Terra Madre celebrations, which I was told was a great evening!

Feeling guilty and wanting to take part in spirit I made some biscuits for the event, covered them with fondant (brush with jam first, I used raspberry) and then together with Arantxa we painted them all using red food colour gel and jam. I have a couple of thin paint brushes that I use only for cooking.

I really like white and red for Xmas, and I love patterns that make me think of the Dolomites, South Tirol, and Scandinavian Christmas. The biscuits looked truly beautiful, it took us three afternoons to paint them (many other chores to be done too), but mostly because we had to think about what to paint... next time it will be quicker, and I know that reindeers and mountain goats, rosters and birds, flowers and hearts etc. always look great. 


The biscuits were much appreciated at the event, and I hope that you will like the idea too!


Photos and Recipes by Alessandra Zecchini ©

Monday, December 10, 2012

Focaccia made with the water from mozzarella and no yeast

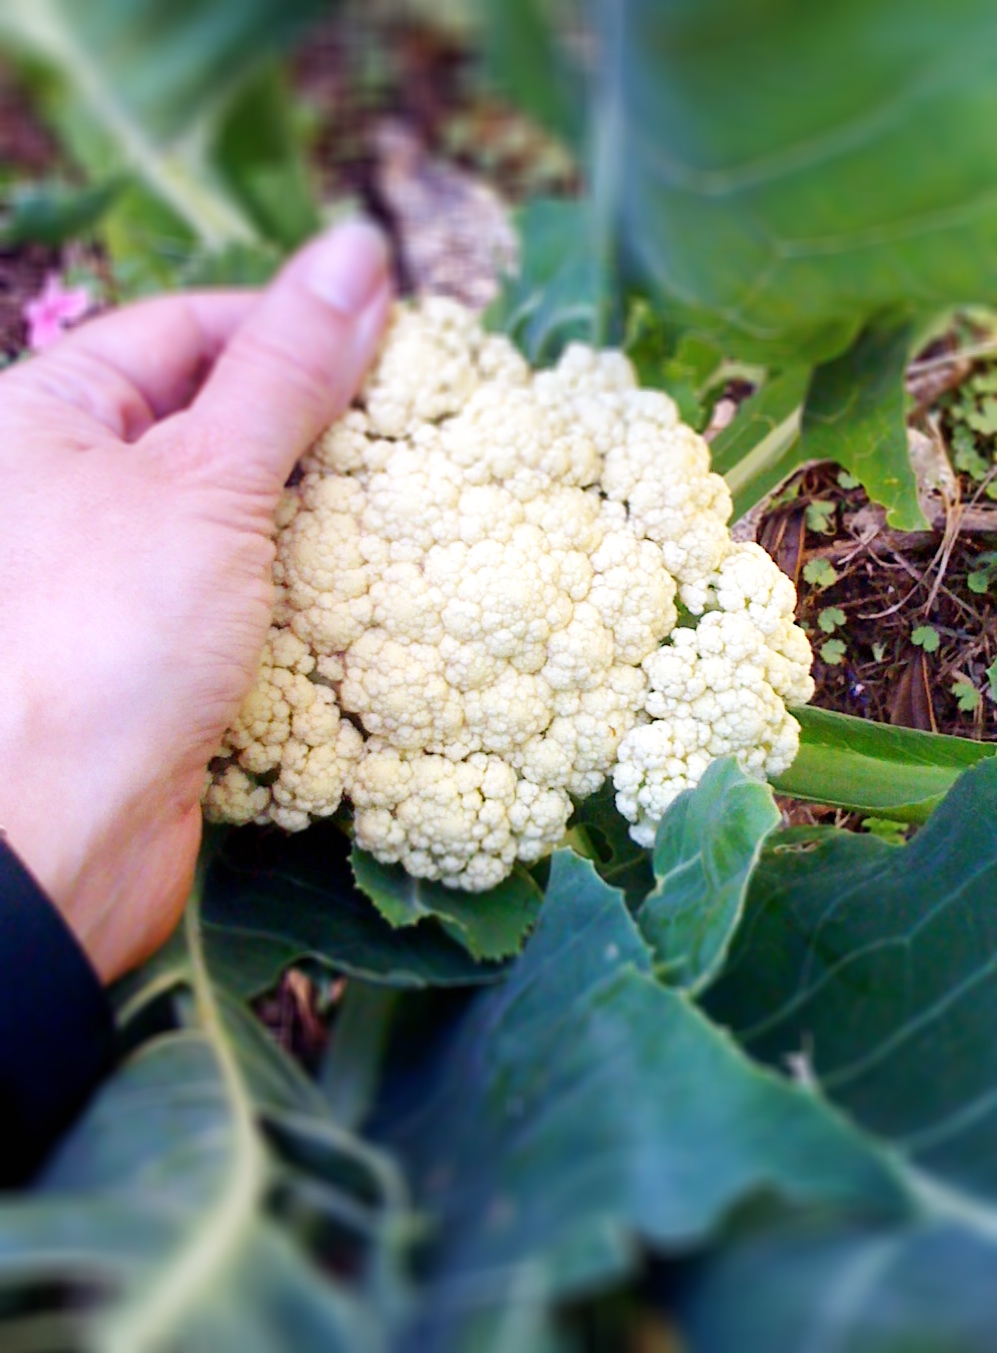
I saw it done several times in Italian blogs, and since the other day I had some mozzarella from Massimiliano I wanted to try it too. I think that I will need to work on it but as a first attempt it was brilliant and I will never throw away the water from mozzarella again!! Please read carefully because I think that some of you may be really interested in this one!

I had 200 ml of mozzarella water (you know that whitish water that you get in the bag when you buy mozzarella? Yes, that one!), I put it in a 900ml yogurt container, then I added 1 tbsp of extra virgin olive oil, one pinch of salt, 1/3 tsp of brown sugar and 200 g of high grade flour. I though that it was wise to start with an equal water to flour ratio. I stirred the lot with a fork and covered it. I didn't expect it to rise so much, after 24 hours it was doubled! Maybe it is because I covered it with a good top? I decided to put it in the fridge overnight to slow the process, but the morning after the dough had gone down :-(. Still, half a morning in the sun and it was already bubbly again!


Just look at it! I thought that it could have handled a bit more flour, but I didn't really have time to experiment, so I poured it directly on a baking tin, without touching it! 


Then I placed it inside the cold oven for a couple of hours to see if it was going to rise some more, but it was too soft, it just spread out instead!! So I turned the oven on and baked it. When I thought that it was nearly done I brushed it with olive oil and added some rock salt and cumin seeds on top and then baked it for other 5 minutes.


I think that it is too early for me to give you a proper recipe for this, I am not quite sure how long it is best to bake it for, but one thing is sure: Please do try and experiment!! Don't through the water from the mozzarella away, it is an amazing starter for a sour dough type of bread and focaccia, especially if you are like me and don't fancy keeping a sour dough starter going for months and months (sorry sour dough, I travel too much for this!). Look at the cut focaccia! It was so soft and tasty... I will make it again and again and if you try I am sure that you will be pleased too!


Photos and Recipes by Alessandra Zecchini ©

LinkWithin

Related Posts with Thumbnails