Friday, July 23, 2021

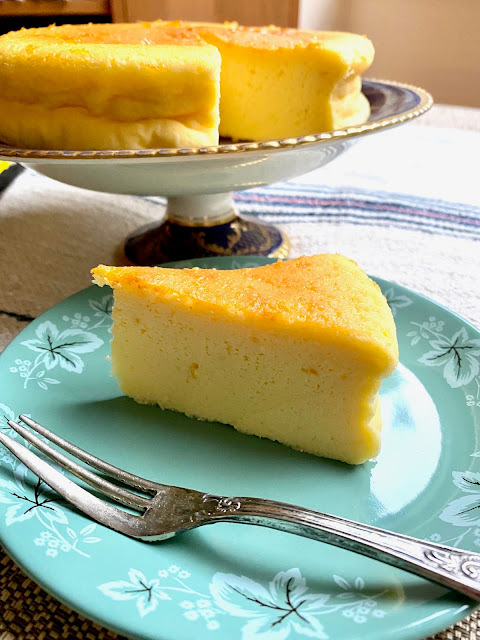
Soft baked cheesecake, "Japanese style"


One thing that I loved about living in Japan were the cakes, both Japanese and Western style. In fact the Western style cakes not only are of an incredible high quality, but they also seem lighter and less sweet that what we have here in New Zealand. The baked cheesecake has always been one of my favourites, I do find it a little 'eggy' perhaps, but every now and then it is fun to make!

Ingredients

1 x 250g pack of cream cheese (I used Philadelphia) 

50g butter (I used salted butter, follow instructions if you use unsalted butter)

150ml cream

50 sugar

5 eggs (large)

80g self rising flour

lemon zest and juice

Apricot jam for the topping (optional)

Cube the cream cheese and butter and place into a mixing bowl with the cream and sugar. If you use unsalted butter add a very small pinch of salt too. Place the bowl on a pot with boiling water (Bain Marie)  and mix well until all the ingredients are melted. Make sure that there are no lumps of cream cheese! Remove from the heat and then add the egg yolks, one by one, mixing well.  In the meantime whip the egg whites to a stiff peak, and also heat the oven to 180C. Add flour to the main mixture, then lemon zest (1 lemon) and lemon juice (one or two tbsp, depending on your lemon - Mayer lemons are sweet so you need more, if you use a more acidic lemon one tbsp will suffice). Fold in the egg whites little by little. Pour into a 18cm round baking tin lined with buttered baking paper (on the bottom and side of the tin - I butter both the tin and the baking paper). Place the tin on a larger baking pan filled with 30-40cm of hot water and place into the oven. The cake will also bake at Bain Marie. Turn the heat down to 160C and bake for about one hour. Turn the oven off but do not remove the cheesecake: leave it to cool down in the oven with the oven door slightly open. Sadly it will drop a bit in heigh while cooling, but this is normal. I am not sure what kind of stabilisers commercial bakeries use to keep their baked cheesecakes super high, but this is more about taste, and the homemade does taste better! When the cheesecake has cooled down remove from the baking tin and if you like brush the top with a little apricot jam thinned with hot water. 

I particularly like this cheesecake because it is so soft and not so sweet, so I can have it for breakfast with my coffee. For dessert instead I like to add some Italian amarena cherries in syrup, or some berries, fresh or frozen, marinated with a little sugar and lemon juice, to give it a bit more sweetness and flavour.


And now some flowers for my Pinterest 


Photos and Recipes by Alessandra Zecchini ©


Monday, July 19, 2021

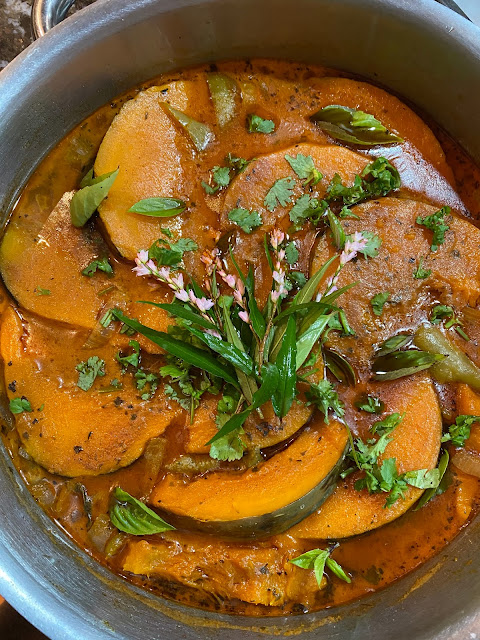
Pumpkin Coconut Curry (and pumpkin soup for the day after)


Bake the whole pumpkin in the oven and then slice and remove the outer peel and centre, slice and set aside. Chop two shallots and one green pepper and sauté with a little vegetable oil,  then add red curry paste (as much as your taste buds suggest) and a can of coconut cream, plus the water from rinsing out the can. Bring to a simmer, then add the sliced pumpkin and some Vietnamese mint leaves and flowers, cover and cook for 20 minutes. Top with fresh Vietnamese mint flowers, and also chopped coriander and Thai or lemon basil. Serve with rice, it is delicious!

If you have made a lot you can also blend it into a soup, easy as!


  Photos and Recipes by Alessandra Zecchini ©

Monday, July 5, 2021

How to make ciabatta bread at home


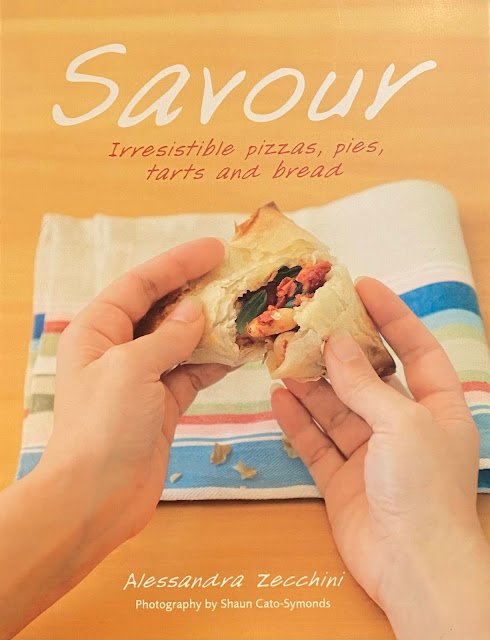
This is my recipe for a simple yet foolproof ciabatta bread loaf, one of my favourite loaves! The recipe is straight from my book Savour (now available as an ebook from Kobo and from Barnes & Noble, and also from Amazon for Kindle), where there are many more bread recipes, and more. In the meantime enjoy this one!
  

Ciabatta 

Ingredients

300ml warm water

2 teaspoons active yeast granules

14⁄teaspoon sugar

300g high-grade flour, plus extra for dusting

pinch of salt 

Makes 1 loaf

Place the warm water in a large bowl, add the yeast and sugar and set aside for 5 minutes. When the yeast starts to bubble, add the flour and salt and work into a dough for about 5 minutes using your fingers. This dough will be too sticky to roll on the bench or table so knead it in the bowl (although it feels more like mixing). Cover the bowl with a damp tea towel and leave to rise for about 2 hours. Line a large baking tray with baking paper and turn out the risen dough onto the tray bottom-side up. The dough will be sticky so you will need to scrape it from the sides of the bowl; it is also likely to be runny – prop up the outside edges of the baking paper with a couple of small ovenproof ramekins to avoid ending up with an extremely large flat loaf (the ramekins can be filled with water to create a steam oven effect - image 1)). Dust the top of the loaf with the extra flour. Bake in a preheated 180 ̊C (350 ̊F) oven for 25–30 minutes.

 Remove the bread from the oven, wrap in a tea towel, then place in a plastic bag and seal. Leave the bread in the bag for 30 minutes so that the steam will cook it further and make it soft and deliciously chewy. If you prefer a ciabatta with a crunchy crust, eat it while it’s still warm – yum!


Tips and variations

Although some recipes add 1–2 tablespoons of olive oil to the dough, I prefer an oil-free version so I can drizzle olive oil on it when it is freshly cut and ready to eat. I also like to dip ciabatta slices in a little oil flavoured with crushed cumin seeds and salt or basil leaves.


Photos and Recipes by Alessandra Zecchini ©


LinkWithin

Related Posts with Thumbnails